How Do I Prepare My Soil for Spring Planting?
 The best time to start preparing garden soil for summer planting is during late winter and early spring. As the weather begins to warm up, getting your soil ready for spring planting is one of the best things you can do for a healthy and productive summer garden. Whether you are maintaining your perennial beds or planting a whole new summer garden, amending and revitalizing your garden soil in late winter will help improve plant health, yields, and decrease pest and disease issues all season long.
Preparing your soil for summer gardening doesn’t have to be difficult. No matter if you are a seasoned gardener or just getting started with a brand-new vegetable garden, we’re here to answer all your soil preparation questions.
Why is soil preparation important for summer gardening?
Soil health is essential when it comes to growing healthy plants. Many things factor in the quality of your garden soil, including nutrient availability, water retention, soil drainage, and root growth. By properly preparing your garden soil for summer in late winter, you can create the ideal growing conditions for your summer plants including vegetables, fruits, herbs, and flowers.
Prepping Garden Soil For Summer Planting: Easy Guide
Step 1: Know Your Garden Soil
Before you add anything to garden soil, it’s important to see what you’re starting with. Here are a couple simple methods for how to test garden soil:
Squeeze a handful of dirt in your hand. When you open your fingers, if it falls away, you most likely have good loam rich soil. If the dirt forms a tight ball, it might have too much clay content. If it doesn’t hold its shape, you might have too much sand.
Dig out a one-foot hole in your garden and fill it up with water. Wait a few minutes and then check the drainage. If water drains within a few minutes, your soil may not retain enough moisture and you can improve this by adding organic matter. If the water sits for several hours or longer, you may have compacted clay in your garden.
Grab a soil testing kit or take a sample of your soil to a local gardent center offering soil testing to learn whether your garden soil is too acidic or alkaline. Your pH can affect nutrient availability, and most plants thrive in soil with slightly acidic to neutral pH levels of around 6.0-7.0.
Step 2: Remove Existing Weeds and Debris
Take time this late winter to remove last year’s garden debris. Pull up leftover dead plants, weeds, and old mulch to help reduce pest and disease pressure that can overwinter in mulch and plant debris.
Step 3: Add Organic Matter to Help Improve Garden Soil
Adding organic matter to garden soil is one of the best ways to help you prepare your garden for summer planting. Compost, aged manure, and leaf mold are all excellent choices to add organic matter to your soil.
Compost is decomposed organic matter that adds nutrients to your garden soil and promotes healthy root development in your plants. Aged manure is decomposed livestock feces that can improve your soil’s texture and add nitrogen to the soil. Leaf mold is decomposed leaves that add beneficial microorganisms to your soil to help with water retention and aeration.
Step 4: Loosen and Aerate Soil
Soil can become compacted over the winter months. Turning and loosening your garden soil with a garden fork or tiller can help aerate the soil so water and oxygen can reach plant roots.
If your garden soil is too heavy and dense with clay, you may need to add sand, perlite, or gypsum to help improve drainage.
Step 5: Choose the Right Amendments for Your Soil
You can easily change the pH level of your soil by adding lime to raise pH or sulfur to lower it. If your soil is lacking phosphorus or nitrogen, try adding bone meal or blood meal.
Step 6: Try Using Cover Crops or Mulch
Adding a cover crop like winter rye to your garden beds in early spring and then tilling it under can help add organic matter to your soil. Till cover crops under about four weeks before planting so the plant material has time to break down.
Mulching your spring garden beds once your plants have been installed will help retain moisture and regulate soil temperature. You can use things like straw, shredded leaves, or bark mulch in your spring gardens.
Step 7: Refresh Raised Beds and Containers
Raised garden beds and containers make it easy to swap out old garden soil that has lost nutrients over time. Simply remove old garden soil and mix in some compost. Then add new garden soil or potting mix to refresh the nutrients.
Purchase quality garden soil, potting mix and compost for all of your containers and raised beds from Town and Country Gardens.
Step 8: Rotate Crops & Design Your Garden
Crop rotation is extremely beneficial for keeping your soil happy. Don’t plant the same vegetable in the same spot every season.
Some crops you need to rotate include:
- Planting too many tomatoes in one spot each year can quickly deplete the nutrients in your soil. Follow tomatoes with sweet corn or garlic next year.
- Follow cucumbers with peas or lettuce.
- Plant spinach or cabbage after strawberries.
Step 9: Install or Check Drip Irrigation Systems and Watering Tools
If you have a drip irrigation system in your garden, late winter is the perfect time to install your hoses and tubing. You can also check your sprinkler system for any clogs or leaks that need to be repaired.
Drip irrigation systems are great for watering gardens because they deliver water directly to plant roots instead of watering the entire area your sprinkler system covers. This not only saves water but also prevents diseases that thrive in moist areas of your garden.
Step 10: Begin with Planting Seeds Inside Your Home in Trays or Pots
Starting seeds indoors is another method for getting one up on spring. Begin by planting your seeds in seed trays or pots. Then transplant them into your garden beds when the time is right. To start the project pick up a few supplies for the seed planting including seed trays or pots, potting soil, grow lights, and a heat mat for germination.
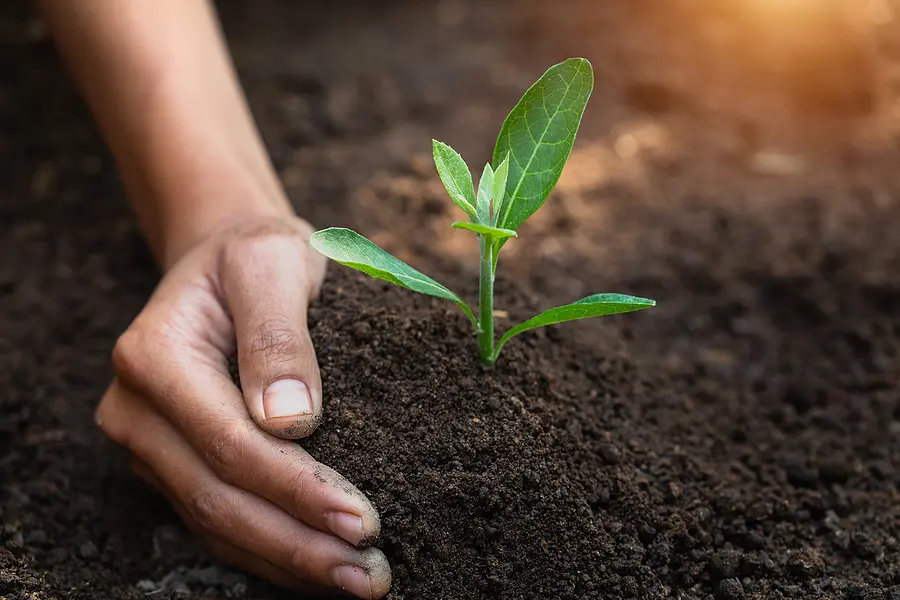
Tomatoes, peppers, and hardy greens like broccoli and cabbage all transplant well when started indoors. Transplanting your seedlings outside after your last frost date will help these plants get a head start so they can grow bigger and stronger than direct sown seeds.
Common Mistakes People Make When Preparing Soil
Trying to Prepare Soil When It’s Too Wet
If your soil doesn’t crumble when squeezed, it’s too wet to till. Wait until the soil dries out a bit before digging in.
Adding Too Many Amendments or Fertilizers
It’s easy to want to add lots of amendments and fertilizer to improve your garden soil. You don’t want to add so much that you overwhelm your plants, though. Follow recommendations on fertilizer and amendment packaging for application rates.
Not Paying Attention to pH Levels
If your garden soil pH is off, your plants may not be able to take in the nutrients you are feeding them. Be sure to test your soil’s pH level and adjust as needed.
Skipping the Organic Matter
One of the most important things you can do for your garden soil is to add organic matter.
Plants will deplete your soil of nutrients. You need to constantly be replenishing your soil with compost and other soil additives.
Final Thoughts
The ground is starting to thaw and planting will be here before you know it.
Healthy soil leads to healthy plants, and we hope these tips help you grow your best garden yet! Talk to the experts ASAP Sands Outdoor Services for any questions you may have about gardening, soil preparation and more.